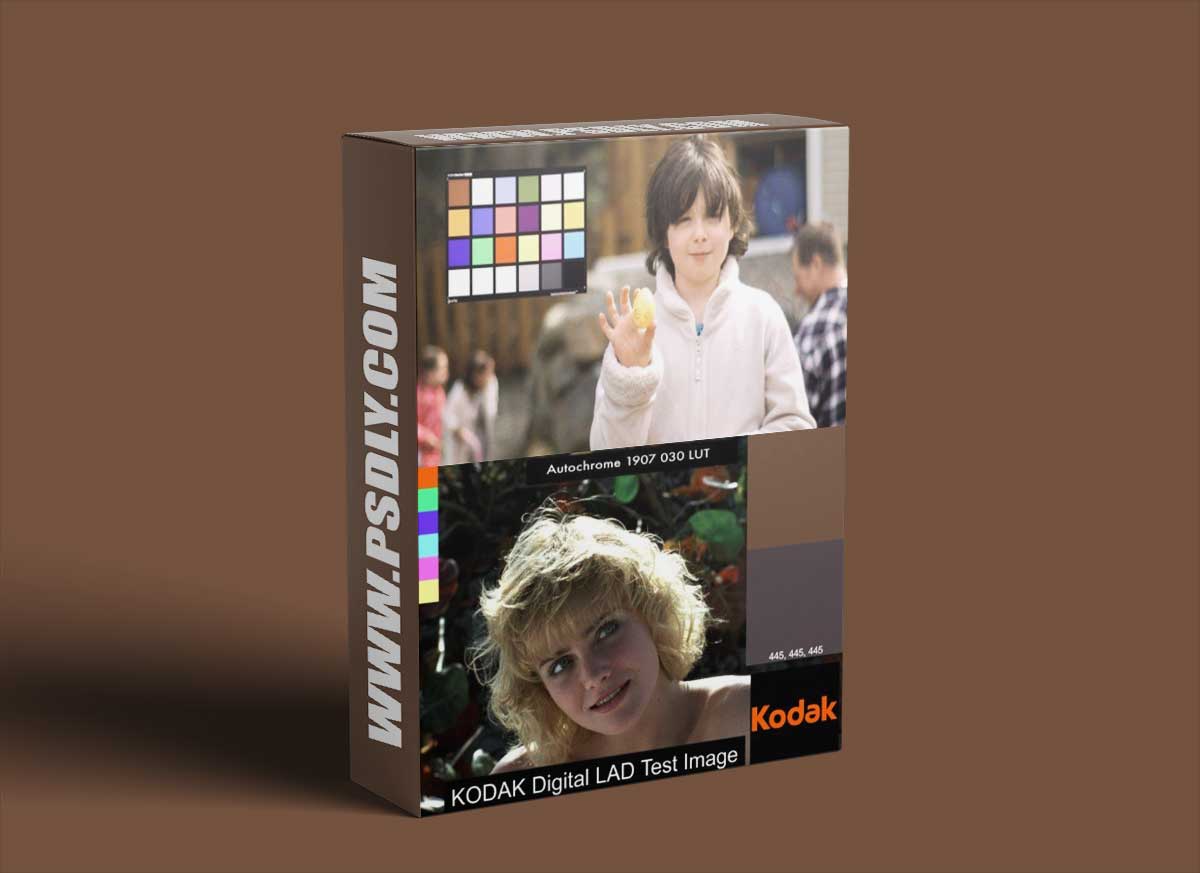
Download Fsorvin Autochrome LUTs. Are you looking for this valuable stuff to download? If so then you are in the correct place. On our website, we share resources for, Graphics designers, Motion designers, Game developers, cinematographers, Forex Traders, Programmers, Web developers, 3D artists, photographers, Music Producers and etc.
With one single click, On our website, you will find many premium assets like All kinds of Courses, Photoshop Stuff, Lightroom Preset, Photoshop Actions, Brushes & Gradient, Videohive After Effect Templates, Fonts, Luts, Sounds, 3D models, Plugins, and much more. Psdly.com is a free graphics and all kinds of courses content provider website that helps beginner grow their careers as well as freelancers, Motion designers, cinematographers, Forex Traders, photographers, who can’t afford high-cost courses, and other resources.
| File Name: | Fsorvin Autochrome LUTs |
| Content Source: | https://fsorvin.gumroad.com/l/fsorvinautochrome?layout=profile |
| Genre / Category: | Plug-ins |
| File Size : | 2MB |
| Publisher: | fsorvin |
| Updated and Published: | January 31, 2024 |
This LUT set simulates the Lumière brothers beautiful Autochrome early colour film process. Put into production in 1907, Autochrome was an additive colour photographic and later attempted motion picture process that used a mosaic of coloured potato starch grains layered over monochromatic glass plate emulsion to both filter and colour the recorded image.
Autochromes were not commonly printed (unless transferred for mass printing, like in National Geographic), but were more commonly viewed in a stereoscope or with a diascope, a box that used daylight, a mirror and a diffusion plate to illuminate the camera original plate from behind.
Autochrome’s mosaic, dyed potato starch grains of red-orange, green and blue-violet, were so small as to be invisible but blended together to form the impression of colour, much like an RGB display does now. Visible were the clumps formed by the imprecise spread of grains on the colour mosaic. This LUT cannot simulate the clumping. If you want to simulatate it, add in a noise layer before the LUT in your image chain.
The orange-red, green and violet-blue can produce some seriously beautiful skin tones, as well as some interesting landscapes. Dial up the vividness or saturation for the colour of dreams, or dial it all back for a vintage faded look, if that’s your thing. And if it’s really your thing to be authentic, shoot with long exposure times. Autochrome had exposures of 3 to 4 seconds in daylight, so get your subjects to pose and bring your tripod.
Autochromes tended to be blue shifted, so Lumiere recommended a yellow filter be used in front of the lens. Included in this LUT pack is a set of pre-filtered LUTs, set from 10% to 40% yellow, as well as an unfiltered LUT that you can dial in your own yellow filter. Just use a Yellow solid layer at Hue: 59, Brightness 100% and play with Saturation from 0 to 100%. Multiply the layer over your original and you should be good to go.

DOWNLOAD LINK: Fsorvin Autochrome LUTs
FILEAXA.COM – is our main file storage service. We host all files there. You can join the FILEAXA.COM premium service to access our all files without any limation and fast download speed.


