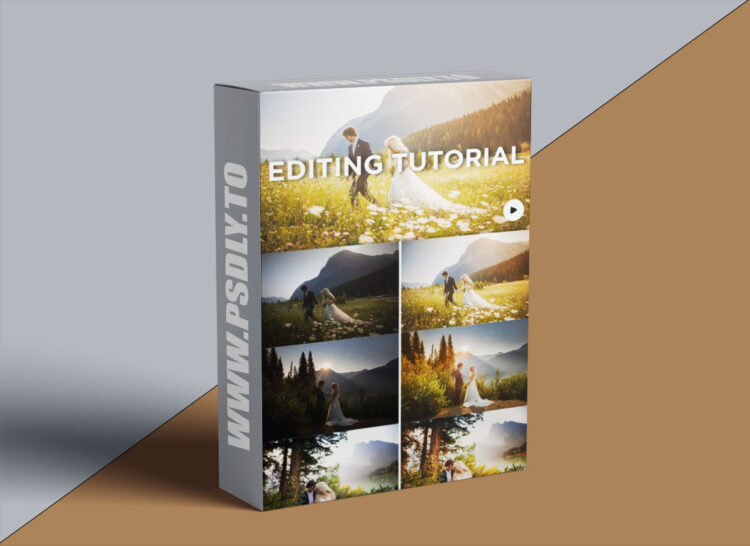
| File Name: | Sam Hurd – In-Depth Lightroom Editing Tutorial + Raw files |
| Content Source: | https://www.patreon.com/posts/in-depth-editing-108755071 |
| Genre / Category: | Photography |
| File Size : | 322 MB |
| Publisher: | patreon |
| Updated and Published: | March 03,2025 |
I recently returned from an amazing wedding shoot at the Emerald Lake Lodge in Alberta, Canada. The venue was breathtaking, surrounded by some of the most beautiful scenery I’ve ever encountered. The couple I photographed brought about 30 of their closest friends and family to share in their special day, and I ended up capturing around 9,000 images throughout the event. I’ve already shared some of my favorites on social media and plan to publish a longer blog post soon.
A lot of people have asked me about my editing style with these photos, especially in the context of destination weddings in incredible locations like Alberta. There is a style that is quite popular in the Pacific Northwest and other West Coast areas. Typically, this genre features a lot of warm, desaturated tones. However, my preset and editing style bring a different vibe that you don’t often see in these settings.
Editing Breakdown with Three Key Photos
Let’s dive into my editing process with three photos from the Emerald Lake Lodge wedding. I’ll show the straight-out-of-camera versions and walk you through my editing steps.
Photo 1: Straight Out of Camera to Final Edit
For this first photo, I started with my gain stage preset applied, which is my usual starting point. Here’s the original shot with the preset applied:
• Camera settings: 1/5000th of a second, f/1.4, ISO 50, 24mm, Canon R3
Step-by-Step Editing Process:
1. Adjust Exposure: My primary focus is always on skin tone. I adjust the exposure slider until the skin tone looks right, even if it means other parts become overexposed.
2. White Balance: I prefer a warmer tone for this photo, reflecting the natural environment of green and yellow fields.
3. Gradient Adjustments: I use gradients extensively. By pressing “M” in Lightroom, I can apply a linear gradient. I often set my gradient at -0.3 for a subtle effect and then layer multiple gradients to achieve a more blended look.
4. Color Grading: I adjust the shadows hue to complement the dominant colors in the image, usually ending with a mix of blue and orange for a balanced look.

DOWNLOAD LINK: Sam Hurd – In-Depth Lightroom Editing Tutorial + Raw files
FILEAXA.COM – is our main file storage service. We host all files there. You can join the FILEAXA.COM premium service to access our all files without any limation and fast download speed.


